Practise a Slip-Stitch Crochet Seam Without Tightening the Whole Edge
A slip-stitch seam joins corresponding points with a crochet hook. The loop choice, side facing and tension affect its appearance. Use two spare matching edges to inspect those decisions before joining finished project pieces.
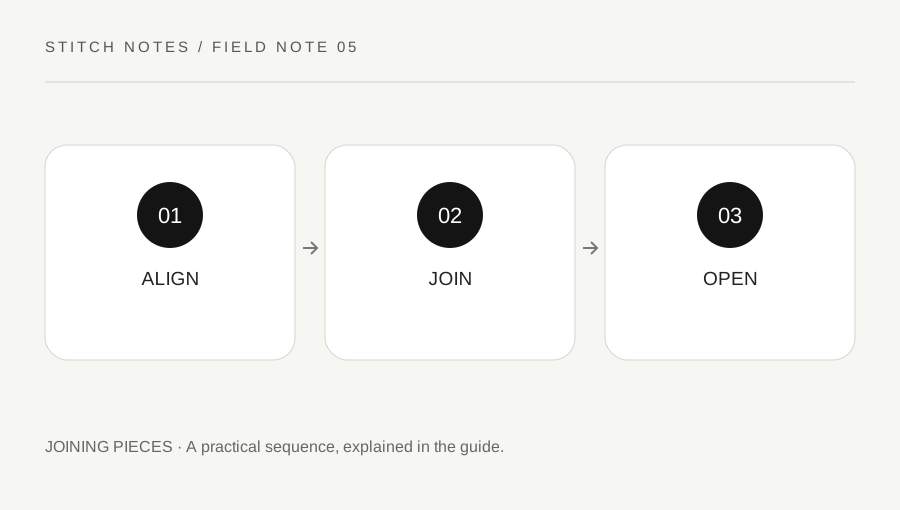
Original explanatory diagram. Examples illustrate a method or decision; they are not claims of personal testing.
Prepare two edges that really correspond
Use spare plain samples with the same number of clearly identifiable edge stitches. Mark the first and last intended joining points and check the pattern's instructions for side orientation and loop choice. An equal visible length does not necessarily mean two differently constructed edges contain the same number of joining points.
Lay the pieces together in the orientation required for the intended seam. Identify which side should display any joining detail. Do not begin by guessing that every seam should be hidden on the same side. A decorative front-facing join and an assembly seam on the reverse are different design choices, and the actual project instructions should make that choice clear.
Work the joining action consistently
For a basic matching-edge practice seam, insert the hook through the specified corresponding points of both pieces, draw the joining yarn through and complete a slip stitch with the active loop. Repeat through the next intended pair. Follow the actual pattern for how to start, which loops to use and how to finish.
Keep the yarn moving freely enough that the seam does not draw the whole edge shorter. The goal is a consistent joining action, not the tightest possible loop. Yarnspirations' technique reference provides the background seam method; the exercises here are original observations using spare samples, rather than a reproduction of a finished pattern.
Inspect a short section before continuing
After a few joining points, open the samples gently into their intended resting relationship. Check whether the fabric lies as expected and the two edges remain aligned. A pronounced gathered edge may indicate excess seam tension or an alignment problem. Do not continue a long seam hoping that later stitches will automatically correct the first section.
Compare the joining points against the markers. If one sample reaches its next marker before the other, inspect the pairing rather than forcing the remaining fabric to fit. A structured pattern may deliberately ease or shape a seam, but that must come from its actual instruction. This plain practice exercise assumes matching corresponding edges without an intentional shaping difference.
Use an original twelve-pair exercise
Mark twelve corresponding points on each of two suitable spare edges. Pair point one with point one, continuing in order until the twelve planned pairs are joined. The exercise creates twelve joining actions; it does not add twelve new stitches to each separate piece or define a garment size.
Pause after the first four pairs and again before the final pair to inspect alignment and tension. Record whether opening the seam reveals a ridge, a drawn-in edge or an evenly placed join. These observations belong to the actual sample and yarn. They do not establish a universal best loop choice, because a different stitch structure or design may call for a different seam.
Transfer the learning to an actual project
Before seaming a finished piece, return to its written instructions and verify the orientation again. Keep access to the ends needed for finishing. If the seam is part of a measured garment or object, check the intended dimensions through the project's actual assembly process rather than judging only whether the join looks tidy.
Keep the practice samples with a note describing the loop choice and yarn when useful. A later comparison can then address a real decision instead of relying on an unlabelled seam sample. The useful skill is controlled joining: corresponding points, consistent placement, appropriate tension and an early inspection before the seam becomes difficult to revise.
A practical checklist
Choices are saved in this browser. Reset them here or clear this site’s browser storage.
Questions that come up
Should I pull each seam stitch very tight?
No. Keep appropriate consistent tension so the join does not draw the whole edge shorter. Inspect the actual fabric as you work.
Can I join different edge counts one-to-one?
Only when the actual project instruction supports the arrangement. Different counts may need a specific easing or shaping method.
Does the practice define a garment seam?
No. It is a small original exercise. Use the garment’s own orientation, measurements and assembly instructions.
References & scope
Background references checked on 18 October 2026. Worked examples and diagrams are original teaching material.