Count Crochet Stitches and Keep Your Edges Straight
A disappearing edge stitch is one of the most common reasons a beginner swatch becomes a triangle. The opposite mistake, treating a turning chain as an extra stitch, can make it widen. Counting is therefore a practical troubleshooting tool, not just an instruction at the end of a pattern. This guide focuses on flat single crochet with a ch-1 turning chain that does not count as a stitch. Other stitch patterns can use different rules.
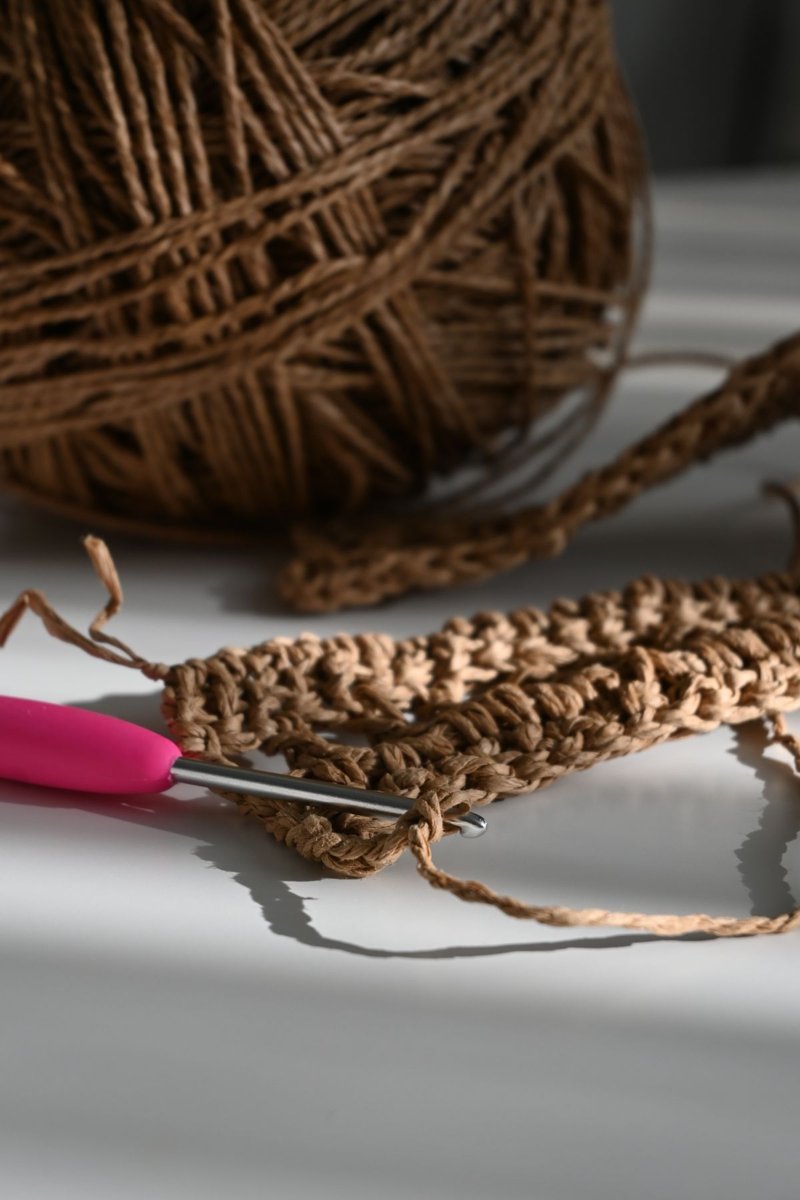
Photo: Fatma · Photo license. Real crochet reference photograph; pictured yarn, tension and finished dimensions may differ from the written project.
What you need
- A small single-crochet swatch
- Two removable stitch markers
- A contrasting spare yarn strand and a row-count note
Step by step
- Finish a row and spread the top edge gently. Identify the V-shaped top of each completed sc. Count these V shapes from one edge to the other, excluding the working loop on your hook.
- Put one marker through the top of the first sc and the other through the top of the last sc. Do not put either marker into the ch-1 turning chain.
- Ch 1 and turn the fabric. Find the marked stitch directly below and beside the working loop; it is the first actual sc of the new row. Work into that stitch rather than skipping it.
- Move the first marker into the sc you have just made. Continue one sc in each old stitch. Work the last sc into the marked stitch at the far edge, remove the old marker, and mark the new last sc.
- Count the row before turning again. If the expected count is 16 and you have 15, inspect the two ends first, then check the middle for an unworked stitch. If you have 17, look for a duplicated stitch or an extra sc in the turning chain.
Understand what a marker records
A marker identifies a location, not a stitch type or a permanent side of the project. After you turn, the previous row's last stitch becomes the new row's first stitch. Moving markers as you work makes this change visible. Openable markers are useful because a closed ring cannot be removed easily from finished crochet. A short contrast thread can work too, provided it stays loose and you can remove it without cutting the project yarn.
Count in groups without losing the total
For a longer row, pause every five or ten stitches and place a temporary marker at the group boundary. Decide whether that marker sits in the fifth stitch or after it, then use the same convention across the row. Add the groups and the remaining stitches. A row of 38 could be three groups of ten plus eight. Recount the full row if the subtotal does not agree, rather than adding stitches merely to force the desired number.
Separate stitch count from row count
Stitches measure progress across a row; rows measure progress through the length of the fabric. A starting foundation chain is not row 1 in the projects on this site. The first row is the first completed line of sc worked into that chain. Record completed rows on paper or with a counter after counting them. Surface ridges can be misleading, especially in back-loop-only crochet, so use the written progress record as your primary reference.
Correct an error at its source
If the mistake is in the current row, remove the hook and gently pull the working yarn until the error is undone. Put the hook back into the surviving loop and rebuild the missing section. When the error is two rows below, decide whether to unravel those rows. For a simple practice rectangle, correcting the original mistake is usually clearer than hiding it with an unrelated increase or decrease higher up.
Recognize tension issues separately
A row with the correct number of stitches can still have uneven edges if the opening loop is pulled very tall or the final stitch is worked tightly. Compare stitch height and avoid yanking the turning chain after turning. If the beginning edge curls inward, inspect the foundation chain as well. Counting helps rule out one category of error, but it cannot by itself guarantee even tension or a particular finished measurement.
Apply the same habit to rounds
In a continuous round, mark the first actual stitch and move the marker upward each round. Count around to the marker without accidentally working into it twice. In a joined round, a joining slip stitch and starting chain often have different counting rules; read those notes first. Our flat-circle coaster uses a continuous spiral, while our granny square uses joined rounds. Do not transfer the joining method from one to the other.
Your quick checklist
- Count actual stitch tops, not the loop on the hook.
- Mark both edges while learning.
- Record rows only when complete.
- Fix the original error before continuing.
Common questions
Can I count the vertical bars instead?
Top V shapes are usually clearer for basic sc. Counting bars can become confusing near turns, joins, or textured stitches.
Why does my count change by exactly one?
Inspect the first and last stitch and the turning chain. An edge error is common, though the middle still needs checking.
Should I add a border to hide crooked edges?
First check the count. A border can finish a sound rectangle, but it cannot reliably repair missing stitches across several rows.