Plan a Crochet Motif Layout Before Committing to the Joins
Several finished motifs create a new design task: their arrangement, orientation and joining order. Lay out the actual pieces, label their positions and test the seam before assembling the whole project. The grid examples here are original planning exercises.
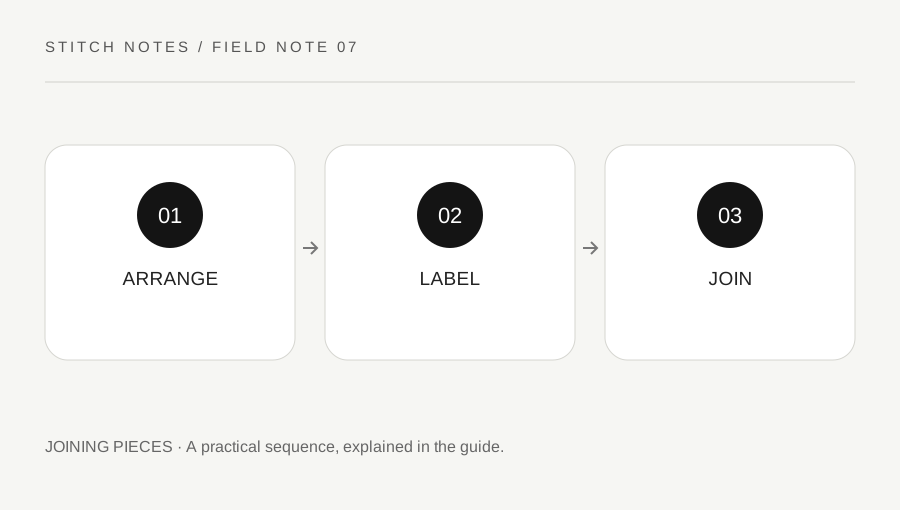
Original explanatory diagram. Examples illustrate a method or decision; they are not claims of personal testing.
Inspect the pieces as a group
Set the motifs on a suitable clean surface and compare their actual shapes and measurements. Keep the pattern's finishing and blocking instructions in mind. Do not assume that pieces made from the same written instructions are identical without checking the real fabric. A difference may need resolving before assembly rather than being hidden inside a tight seam.
Identify the side intended to face outward and any directional feature in each motif. A small removable marker can help show the top or a particular corner, provided it does not damage the yarn. Keep the arrangement away from ordinary household routes while reviewing it. A floor layout should not become an unnoticed obstacle for other people.
Choose the arrangement with actual colour groups
Move the pieces into a few possible layouts and compare them in ordinary consistent light. Decide which differences matter: a repeated colour, a strong diagonal or a group of similar motifs. Avoid judging a subtle colour match from photographs taken under different lighting conditions. Keep the choice connected to the actual project rather than a universal rule about balanced design.
Label positions by row and column if that makes the layout easier to preserve. A photograph can support the record, but do not rely on it alone when orientation is subtle. Write a short description of any rotated motif. If the arrangement must be packed away, stack or store the pieces in a controlled order with their labels.
Count shared edges separately from motifs
A two-by-two grid contains four motifs and four internal neighbouring edge segments: two left-to-right connections and two top-to-bottom connections. A three-column, two-row grid has six motifs and seven internal neighbouring edge segments: four within the two rows and three between the rows. These are counts of adjacency segments, not instructions for a particular joining path.
A maker may join several aligned segments in one continuous operation if the actual pattern supports it. Corners and seam intersections can need specific treatment. Do not turn the adjacency count into a rule that every corner receives another stitch. Use the project instructions to decide which points are joined and how intersections are handled.
Test one join before the whole arrangement
Use spare samples or a suitable first pair to inspect the prescribed seam. Check orientation, corresponding points and how the joined pieces lie. If the join creates a different visual line from the one expected, pause before assembling every motif. A small early check can reveal a misunderstood loop choice or joining direction.
Keep the layout labels readable through the process. Tick a connection only after it is actually made and inspected, not when its yarn is cut or its pieces are placed together. This original workflow distinguishes a design plan from completed assembly. It does not claim that a particular seam or colour arrangement is appropriate for every motif project.
Preserve the layout through finishing
Review the assembled section against the labelled plan before securing inaccessible ends. Follow the project's actual instructions for later borders, blocking and care. The assembled dimensions include the behaviour of the motifs and joins, so do not calculate a finished measurement solely by multiplying an unjoined motif's nominal width.
Retain a simple final layout note if the project may need repair or another section later. Record any deliberate change, such as a rotated corner motif or a different joining order. A useful motif plan remains understandable after the pieces leave the layout surface. Its purpose is to keep the chosen arrangement and actual assembly aligned, with enough context to inspect a mismatch before it spreads.
A practical checklist
Choices are saved in this browser. Reset them here or clear this site’s browser storage.
Questions that come up
Does a six-motif grid always require seven separate seams?
No. It has seven internal neighbouring edge segments in the stated three-by-two layout. A supported joining method may connect several in one operation.
Can I calculate finished width from motif width alone?
Not reliably for every project. The seam, finishing and actual fabric affect the assembled result.
Is a photograph enough to preserve the arrangement?
It can help, but clear position labels and orientation notes are useful when pieces will be packed away or look similar.
References & scope
Background references checked on 18 October 2026. Worked examples and diagrams are original teaching material.