A Final Crochet Inspection Before You Call the Project Finished
Finishing is a sequence of checks, not only the last stitch. Review the fabric, connections, ends and care information in a consistent order. A clear inspection makes the remaining work easier to identify and complete.
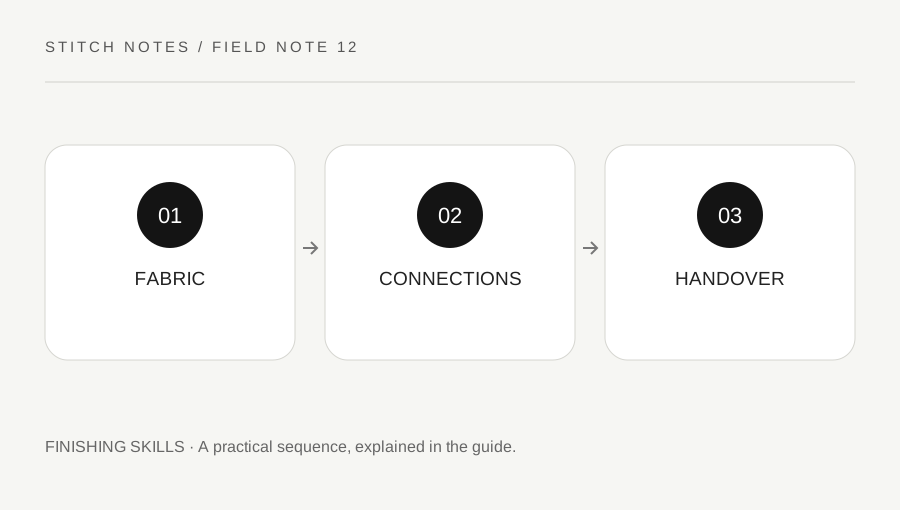
Original explanatory diagram. Examples illustrate a method or decision; they are not claims of personal testing.
Return to the actual project requirements
Read the finishing and assembly section of the pattern before creating a personal checklist. Note the intended dimensions, orientation and any named closures, borders or attachments. Keep deliberate modifications separate so an inspection does not mistakenly treat a changed design as an unmodified original.
Divide the requirements into main fabric, assembly and finishing details. Put an unfinished border or unsecured tail in its own row rather than hiding it beneath a single nearly finished label. Follow the pattern's intended sequence, because a later join can make an earlier area harder to reach. This gives the inspection a useful order and keeps the remaining work visible.
Inspect the fabric before its details
Lay the project in its intended resting shape and review the main structure. Check counts or repeated sections where the pattern makes them relevant. Look for an unintended opening, a missed section or a visibly distorted edge. Distinguish a deliberate design feature from something that conflicts with the actual instructions.
Measure through the pattern's intended process rather than stretching the fabric to obtain a preferred number. Compare width and length separately, and keep the condition of the fabric consistent. A tidy border does not establish that the main piece has the required dimensions. If a discrepancy appears, identify it precisely before deciding whether and how to correct it.
Review joins, ends and attachments
Inspect each seam and accessible finishing end using the method suited to the actual project. Check both sides where they will be visible. Gently handle the connections as appropriate for their ordinary purpose, noticing any gathering, exposed loose end or incomplete assembly section. Check again after the ordinary finishing steps specified for the project.
Compare the number and placement of attachments or closures with the actual assembly instructions. Count tools and temporary markers out of the finished item. Remove a marker when its role has ended rather than leaving it inside a fold because the surface looks complete. Keep unresolved concerns visible until a suitable correction or decision is made.
Use a practical finishing status note
Imagine an ordinary decorative practice panel with its main fabric complete but one seam end still unsecured. The maker records main fabric checked, join inspected and one tail unfinished. That is more useful than finished except a little bit. After using the appropriate finishing method, they update the actual status and inspect the area again.
The maker can now check the previously unfinished area without repeating every inspection from the beginning. If the correction changed a nearby edge or join, that affected area receives another look as well. Keeping the task description specific makes the final review easier: identify what remained, complete it and inspect the actual change.
Include the information needed for later care
Keep the yarn label or relevant care information with the project record and provide suitable care guidance to a recipient where useful. Craft Yarn Council's care-symbol resource explains why yarn information is valuable for handmade items. The actual yarn and project requirements govern care; do not copy a generic washing method from another object.
Store a final note containing the pattern reference, useful modifications and unresolved questions, retaining only what serves a real future purpose. Return tools and surplus materials to their appropriate places. A project is easier to understand later when completed work, remaining decisions and care information are clear. That practical clarity is the goal of this inspection, rather than a claim of perfect workmanship or guaranteed performance.
A practical checklist
Choices are saved in this browser. Reset them here or clear this site’s browser storage.
Questions that come up
What if one part remains unfinished?
Name the exact remaining task and keep it visible. Complete it using the appropriate project method, then inspect that area again before closing the record.
Should I inspect only the visible front?
Check every side and connection relevant to the intended project. An unfinished end or tool may be hidden behind an attractive front.
Can I give the recipient a generic wash method?
Provide care information appropriate to the actual yarn and project. Keep relevant label information rather than copying another item’s method.
References & scope
Background references checked on 18 October 2026. Worked examples and diagrams are original teaching material.